Tag Archives: pdp-8

Update on the CCI

Crikey but it’s been a long time!

It’s been an age since I wrote anything at all on this website and an age since I wrote anything about the CCI. The thing is, I’ve had nothing to say and I think the world would be a much better place if all of the people with nothing to say would come out and say it!

About two and a half years ago, I approached Jerry Walker, an accomplished retro computer enthusiast and YouTuber if he would be interested in taking a look at the machine.

He did and you can watch his exploits here… https://www.youtube.com/watch?v=hbUIm8OFpdE. Jerry made some progress but his time isn’t infinite and at some point, he had to call it a day and that time has happened.

The machine is back with me now and I thought I would take this opportunity to update this site on what we have learned.

It’s not a PDP-8 clone.

It kind of is but it’s not. To the best of my knowledge, it’s a CCI KeyEdit 50. This was a key to disk or key to tape machine. These were used to prepare data for mainframe machines for later processing.

It’s not a true clone. It has a different bus and the cards aren’t interchangeable but we think it executes the same instruction set as the PDP-8. So, perhaps, “PDP-8 software compatible” is closer to the truth.

It has a nifty protection circuit that won’t let it run if there are problems with some of its cards.

Where are we now.

We know that faults on the tape controller cards are stopping the machine from running. If the protection circuit is overruled, bits of the processor try to run but it’s not great. Jerry feels that some of the logic, whilst not total failing, is unable to run within the original specs and so is somewhat flaky. He feels that it is repairable but that it will be a long job.

So there you have it. 🙂

Consolidated Computer Inc. PDP-8 Clone – Part 11. The first reassembly.

So as you will know, I have serviced and cleaned the various power supplies and PCBs that make up the PDP-8 clone.

It’s time to get it back together for the first time. I expect to strip the machine down again before too long when I’ve decided how I want to treat the rusty 19″ rack.

First of all, I cleaned out the card cage and vacuum cleaned the inside of the rack. I refitted the three power supplies and the fan tray and turned on the mains.

No smoke or fireworks and the fans came on and span quietly. Result.

The three power supplies after refitting in the rack. Note the power lights are on.

Next, I fitted the regulator boards in the right hand side of the cage as we are looking at it and powered on again.

Still no smoke.

The card cage after its scrub up.I have made no attempt to remove any rust yet. Just removed the dirt and grime.

Finally, I refitted the rest of the boards and turned on again.

Still no smoke.

I was hoping to see some activity on the front panel but there was very little. The LED that indicated the “Fetch” cycle was lit but that was about it. The buttons had no effect and the 7 segment LED displays didn’t light.

The front panel showing the illuminated “Fetch” LED

I am going to have to start to understand how PDP-8s work now to find out why mine does not.

Wish me luck.

Consolidated Computer Inc. PDP-8 Clone – Part 9. the regulator boards.

On this machine, the PSUs rectify the power but don’t regulate it. The regulation is done by a number of boards at the right hand end of the card cage.

As before, I’ll just show the photos here and perhaps give more details, if needed in later posts.

-5v regulator board. Top view.
5v 20A regulator board. Top view.
Regulator board 3. Top view.
Regulator board 3. Bottom view.

Consolidated Computer Inc. PDP-8 Clone – Part 8. the peripheral interface boards.

Having been through the CPU and memory boards it’s time to have a look at the next batch of boards which are the ones that look after the peripherals.

There isn’t much to say about these at the moment as I’m just in the process of cleaning them up and looking for damage.

I’ll just throw the photos of them in here and perhaps in later posts I’ll go into more detail.

Top view of the Comms controller
Line printer interface. Top view.
Teleprinter interface. Top view.
Remote VCU DMA interface. Top view.
VCU terminal control. Top view.
Universal MTT controller board. Top view.
Terminator. Real time clock board. Top view.

Consolidated Computer Inc. PDP-8 Clone – Part 7. the memory boards.

Having taken a look at and a brush to, the first few boards, I have come to the memory boards. This machine has 32kwords of 13 bit core memory in two memory modules.

There is a memory bus controller board but I didn’t take a photo of that. I did get photos of the memory modules themselves though.

Top view of the 16kw x 13 bit core memory module.

The memory modules were made by Ampex and have a customer part number containing the initials CCI. This must mean the boards were made specifically for CCI and were not off-the-shelf-items just bought in.

Looking from either side of the module it is not overly obvious that there is any core memory at all. It’s well protected between the two PCBs that make up the module.

Identical in every way?

When I was cleaning the first of the modules I noticed a broken resistor. I struggled to read the value bands so I took a look at the other module, one I hadn’t cleaned at all, and it had the same broken resistor!

Two view of the upper memory board showing the broken resistor

I had a word on the VCFED forums and the view of the team was that the resistors were 510 Ohms. A quick raid of the parts bags and two new resistors were fitted.

Top view of the upper memory board showing the replacement resistor.

Having to part the two boards that make up each memory module gave me the opportunity to take a look at the core memory itself.

The core array is behind a steel plate and a sticker warning me that I was about the void the warranty.

View of the core memory array.

I was very careful when removing the metal plate and I’m glad that I was. This is the smallest core I have see I think. Sadly I don’t have a standard banana for scale but trust me, the cores are tiny.

Close up of the core memory array.

Consolidated Computer Inc. PDP-8 Clone

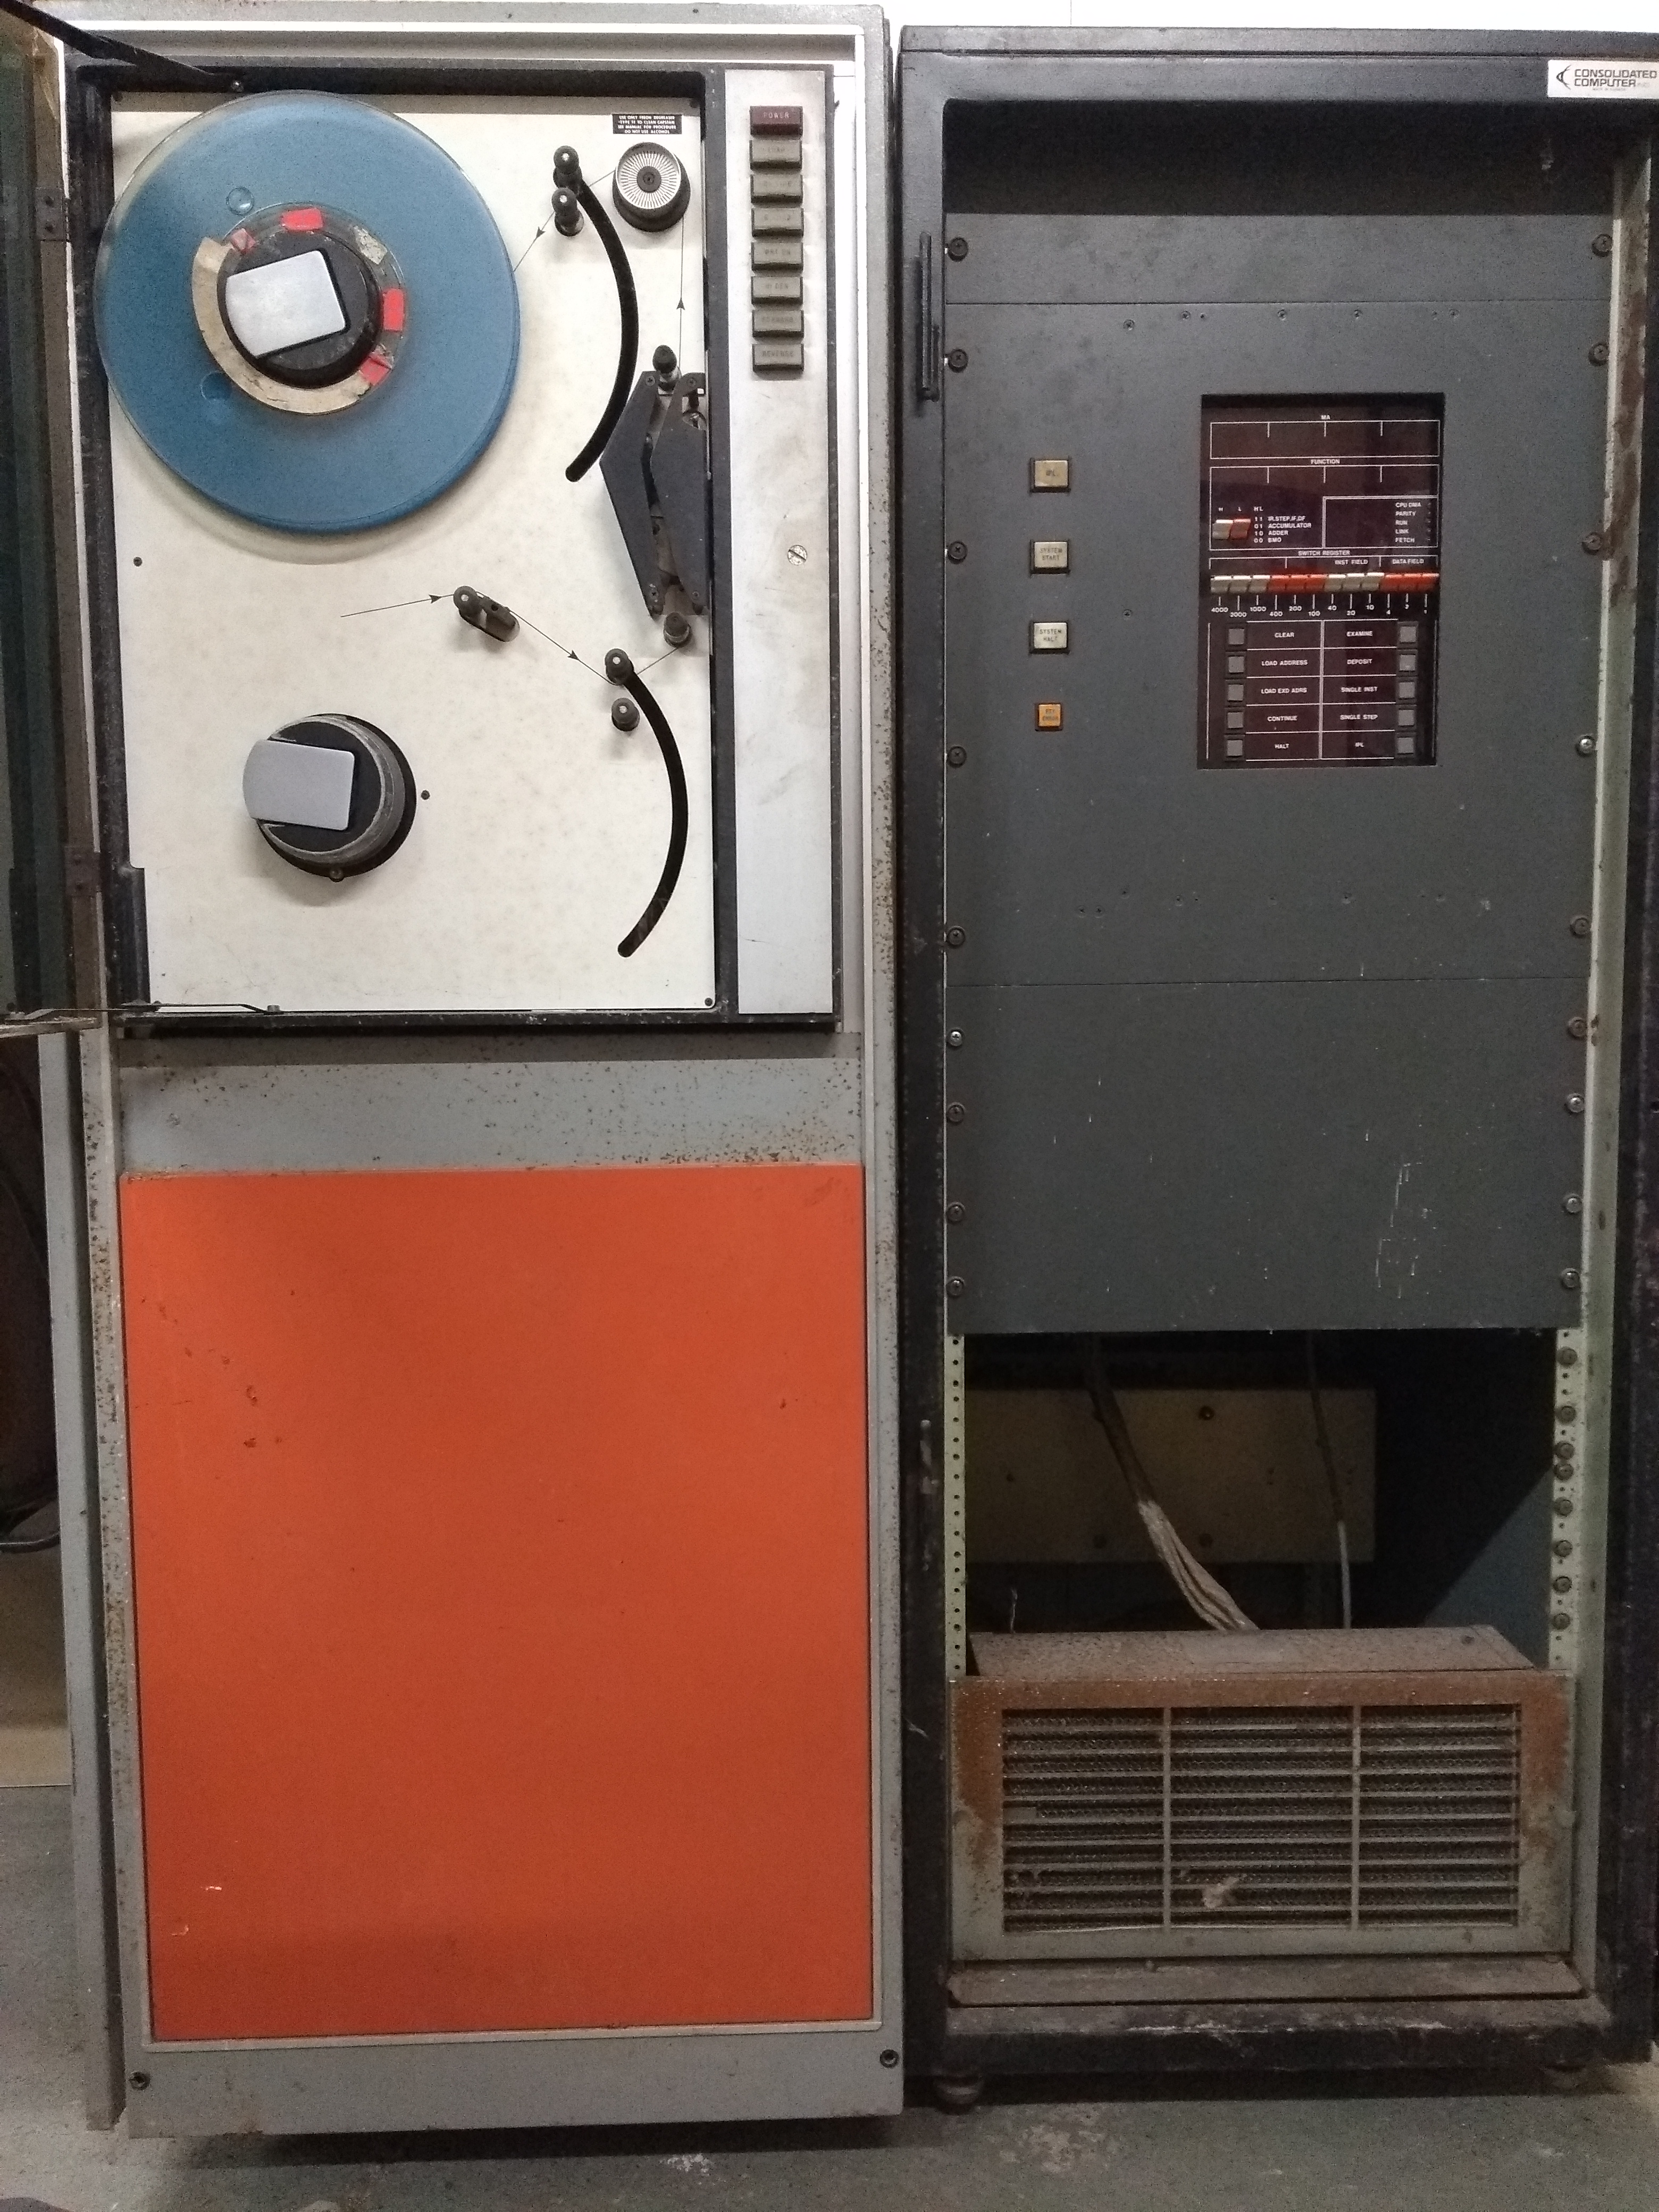
CCi PDP-8 clone in 19 inch rack along side is a 9 track tape drive in a  similar 19 inch cabinet.

Sometimes friends with machines they no longer need will get in touch to pass them on to me. Sometime they have friends who have something they want to get rid of but can’t bear to throw away and so again, I get a call.

I got a message from an old friend of mine, John, to say that a friend of his had a PDP-8 clone that he no longer had space for and was loathed to scrap so asked if I would like it. Of course I said yes please.

At this point all I knew was that it was a PDP-8 clone and it was Canadian. I searched the web for clues but didn’t find anything.

John sent me some photos over and my jaw dropped. I was expecting something like a PDP-8a; A 19″ rack about a foot high. I didn’t expect two chest high 19″ racks, one with the computer, the other with a 9 track tape drive.

Have I been a bit hasty in saying yes?

I did have second thoughts but it’s not everyday someone offers you a PDP and so I couldn’t really turn it down. Luckily I have more than one friend and another, rather generous one, said I could store it in his storage unit for a bit.

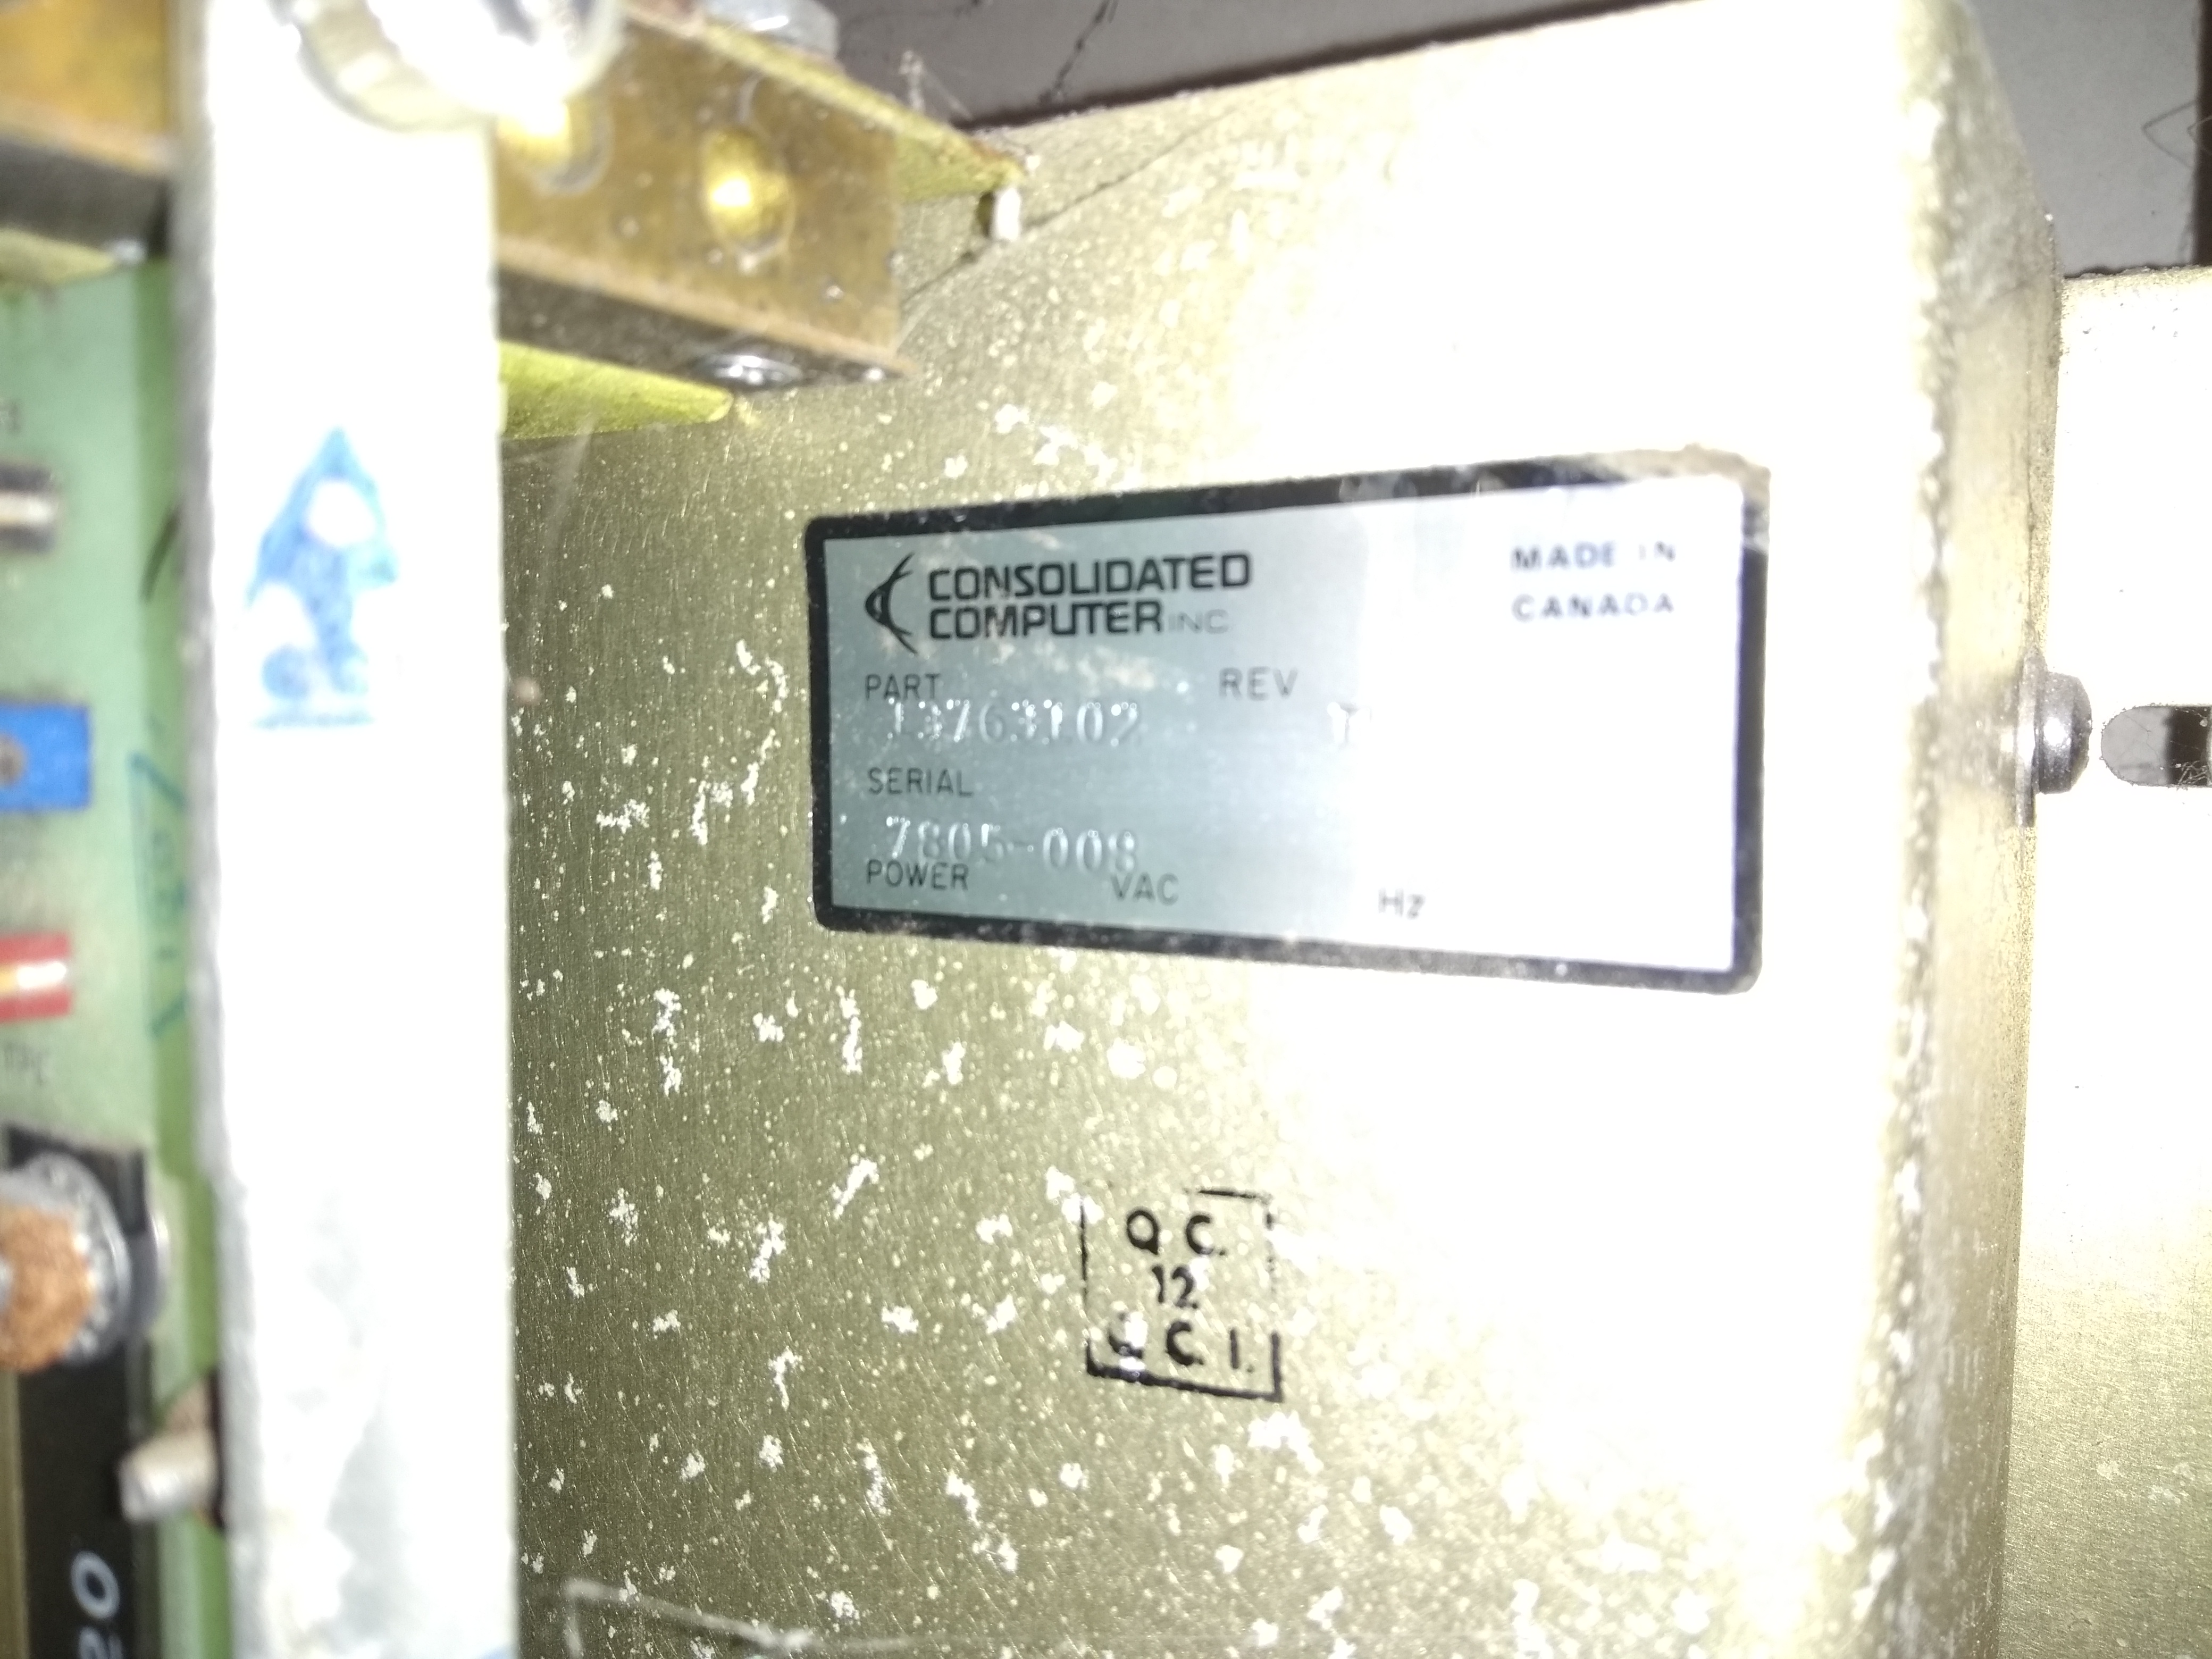
The identity plate inside the cabinet. It shows the CCI logo and text.

From the photos I could see that it was badged as a Consolidated Computer Inc, machine but a lot of searching on the web turned up very little. I found that CCI had been a computer company in Canada and that they were well know. I found that they did indeed make their own computers but I haven’t been able to find anything about the computers themselves. Not even the name of one let alone the specifications.

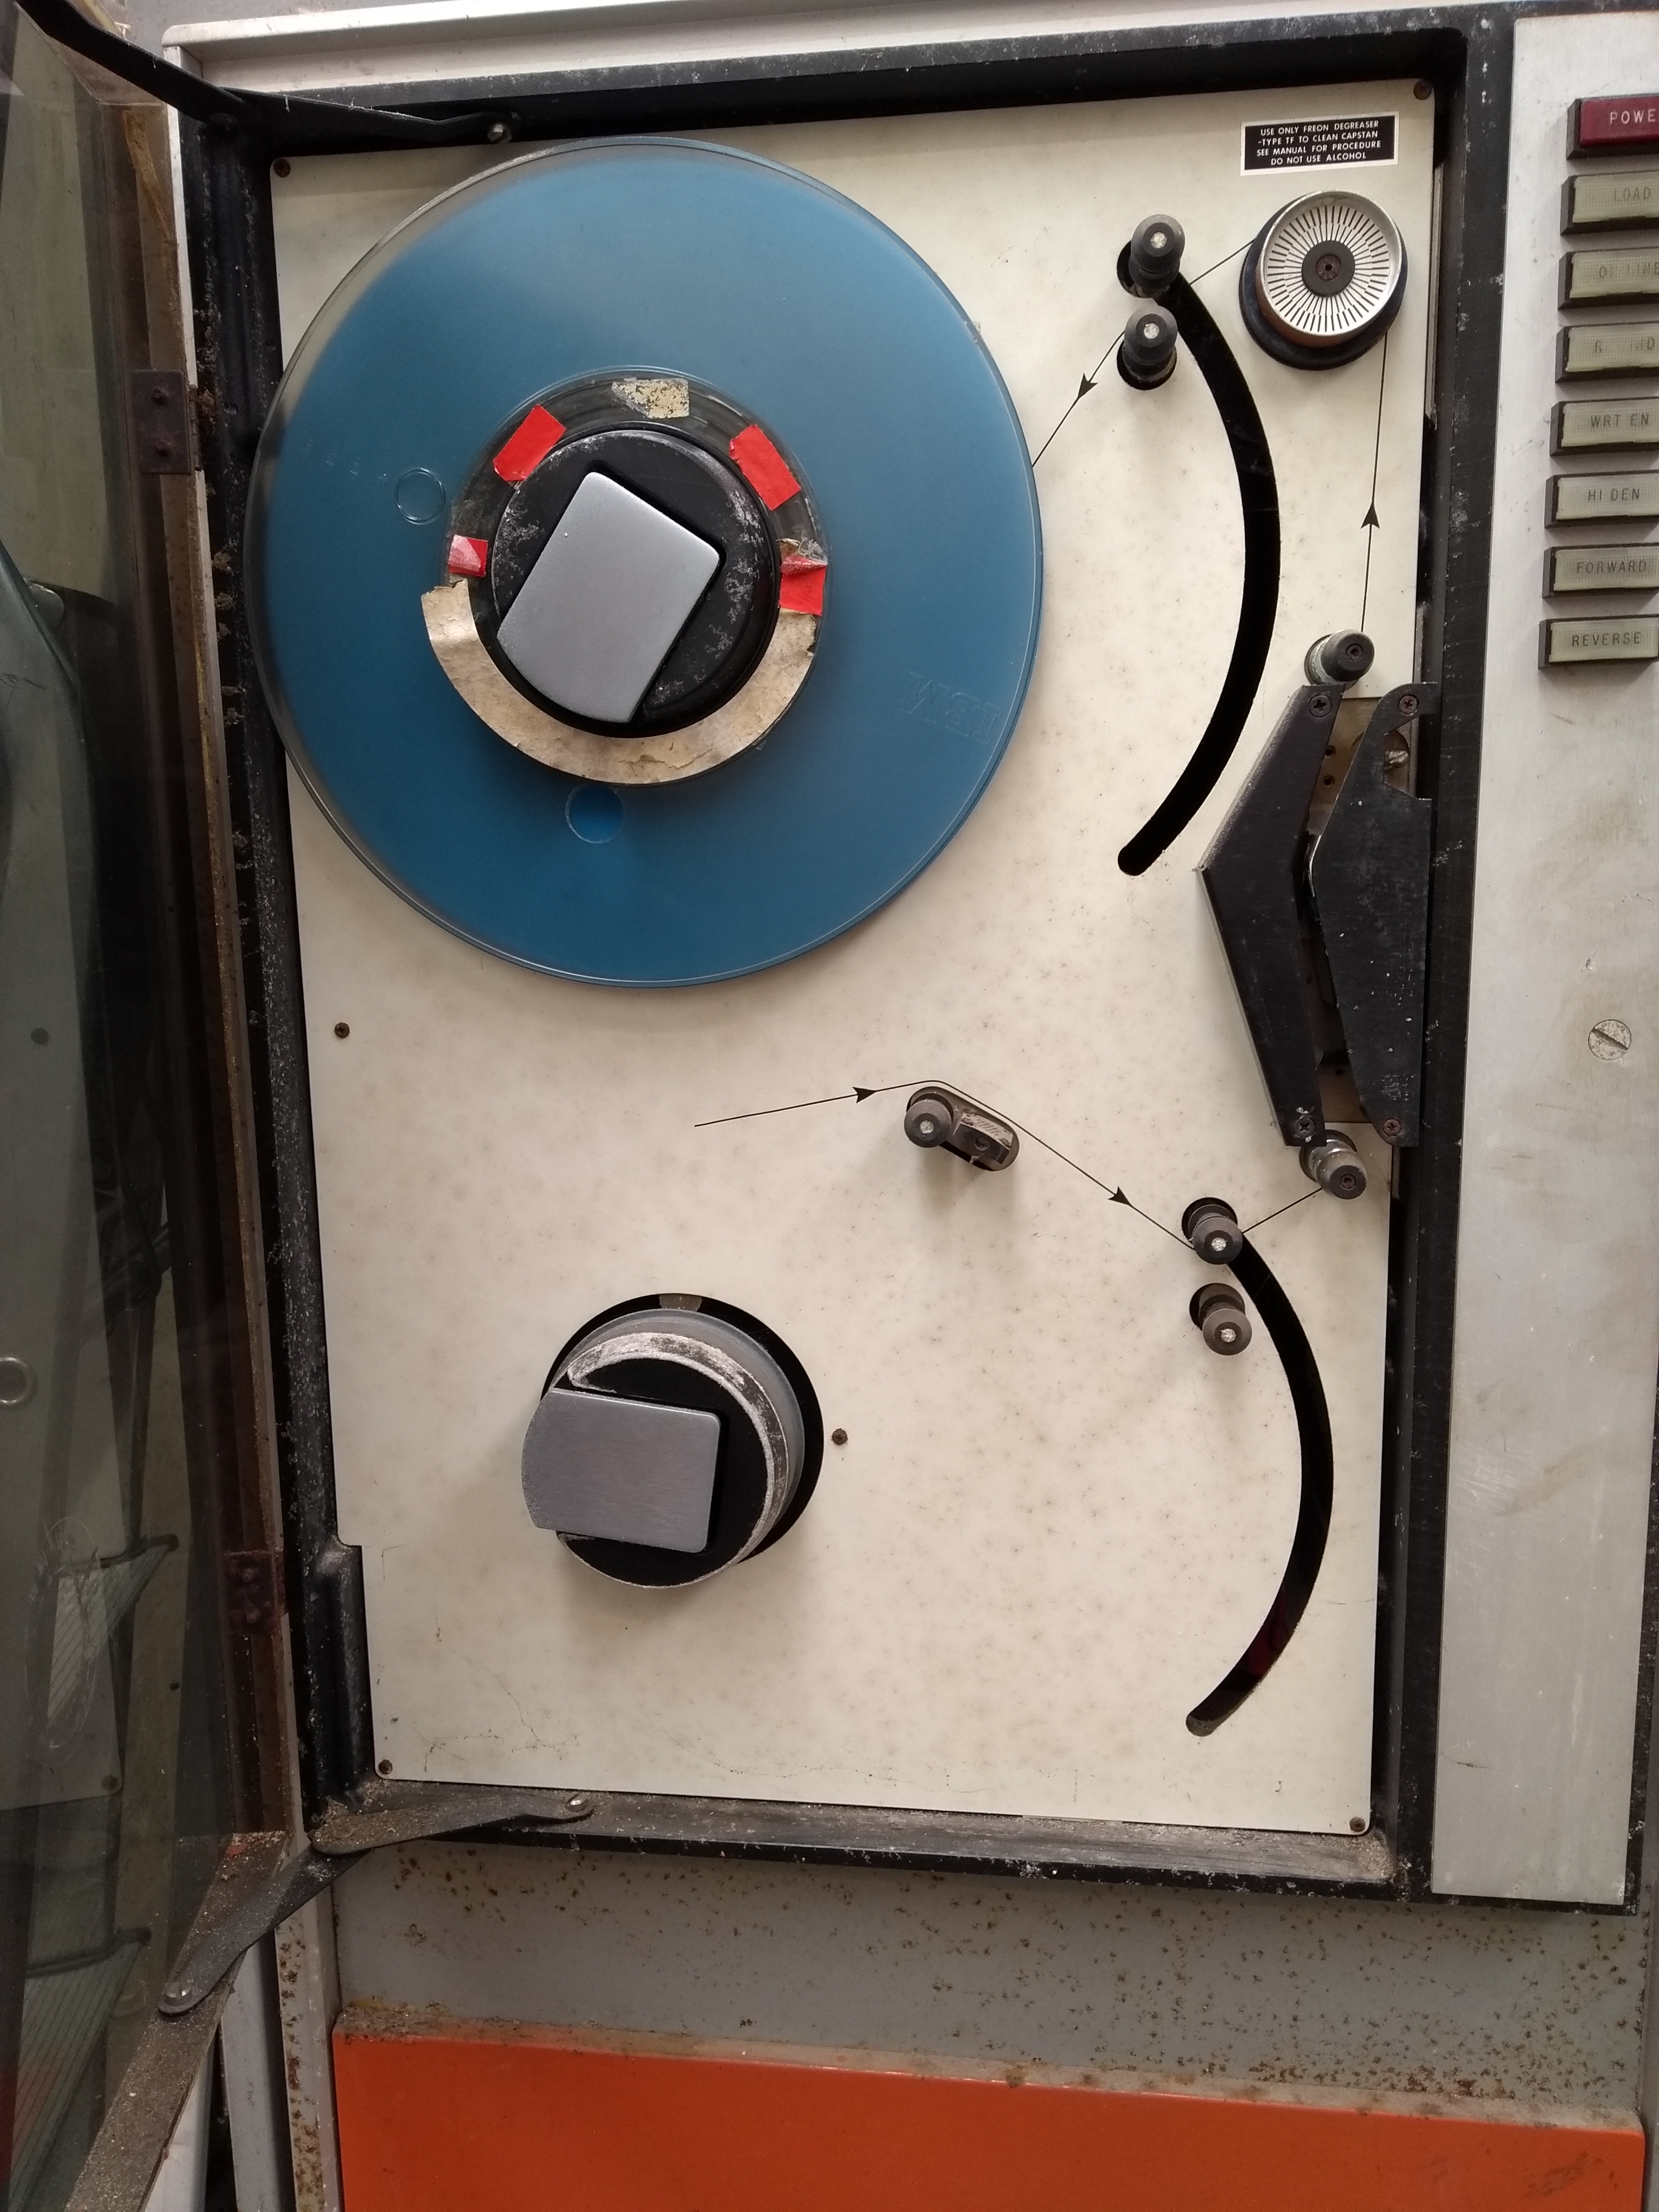
A close up of the 9 track tape drive.

The important thing was to get the machine first. I’d worry about the rest later.

After a brief visit to see the machine in the flesh, I hired a van and got some friends together and we got both cabinets into the back of a van and into the storage unit.

No one was harmed in the making of this journey.